
 USA
USA Canada
 UK
UK Italy
Italy Sweden
 Australia
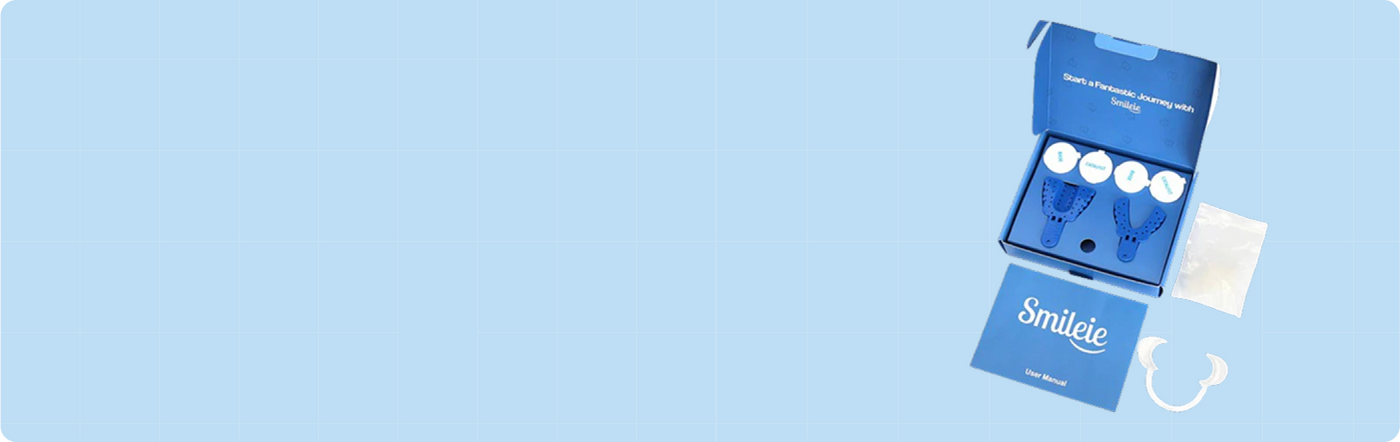
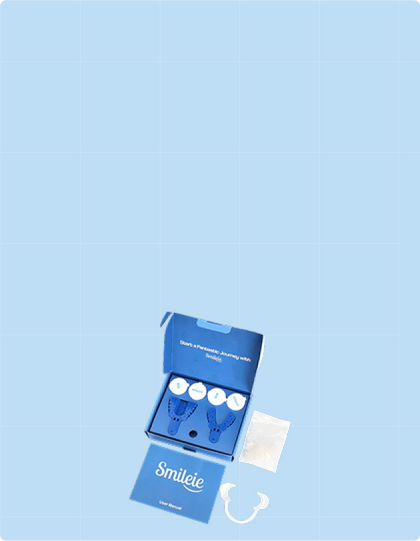
Make sure you have these items before you begin.


Impression Quality Guide Good vs. Bad
Good Impressions


Bad Impressions
Examples of impressions that need to be redone.


📢 Read This First! Your Dream Smile Starts Here
Accurate impressions are key to perfect-fitting aligners and a smooth treatment. Follow each step carefully to get the best results and avoid delays!


Setting The Top Tray

Place the putty sausage inside the tray as shown in the picture below.

Making sure that the putty reaches the brim of the tray to capture better gumlines.

Make sure at the front, the putty is high as well. This will help you get deeper gumlines at the front.

You can also make a mark to guide your top teeth into the putty. The edges of the front two teeth will go in this mark.
Setting The Bottom Tray

Place the putty sausage inside the tray as shown in the picture below.

Making sure that the putty reaches the brim of the tray to capture better gumlines.

Make sure at the front, the putty is high as well. This will help you get deeper gumlines at the front.

You can also make a mark to guide your top teeth into the putty. The edges of the front two teeth will go in this mark.

Step 4: Upload and Get Approval (Very Important!)
Take photos of your teeth from different angles as instructed and upload them to the patient portal or send them to your Smile Specialist.
Begin with either the upper or lower impression and send clear pictures of it to your assigned Smile Specialist. Ensure the anterior (front) view clearly shows the gumline and molars.
Your Smile Specialist will review your first impression. Once approved, proceed with the second set.
After completing both impressions, follow the instructions in your email to return them.

⚠️ Important: This step ensures your impressions are accurate before mailing them, preventing delays in your treatment.
Frequently Asked Questions
Want to know more?
Chat with a Smileie Advisor
24/7 Live Chat
Experience support at any hour with our 24/7 live chat service, ensuring you get the help you need whenever you need it.
Email Us hello@smileie.com
For inquiries, please reach out to us. Our dedicated team is here to assist you with any questions or concerns.